As a first-time participant signing up for a competition on Roster, you must create your account to register yourself or someone else (if you are a coach, parent, or manager) for competitions. This guide will show you how to create and manage your account.
The guide is arranged as follows:
Signing up for an account
To get started, go to the https://meets.rosterathletics.com/public/signup page and provide the required information, such as your country and full date of birth. We are required to ask for your details to comply with privacy regulations.
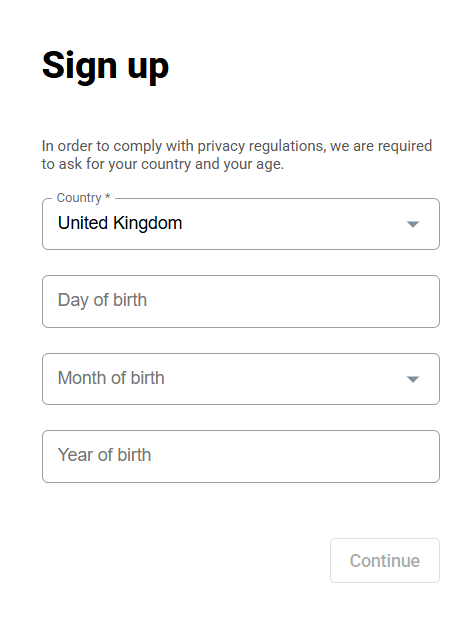
If your age meets the account creation conditions in your country, you can choose to sign up with a Google, Apple, Facebook account, or an email address. If you decide to sign up with email, you can still link your Google, Apple, or Facebook account later in the account settings.
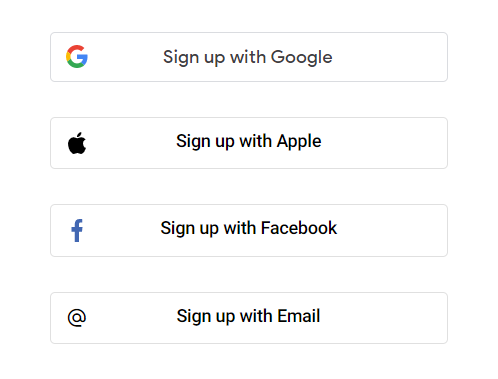
Regardless of your chosen option, you will need to provide information about yourself in the next step.
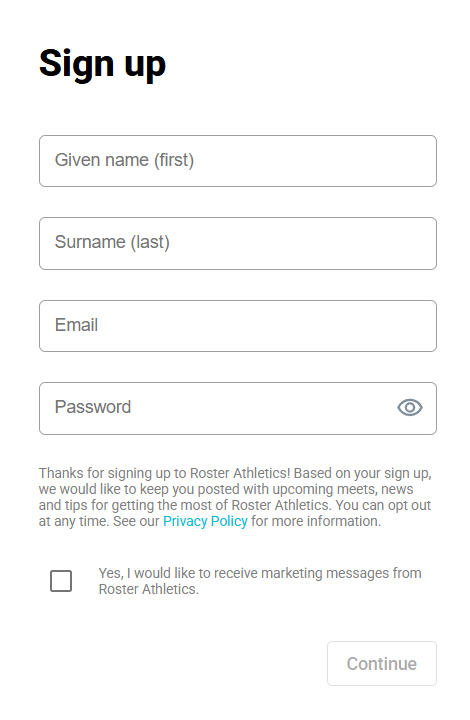
If you sign up with Email, add your email address and create a new password. Review your details in the next step and click the Create account button to finish the process.
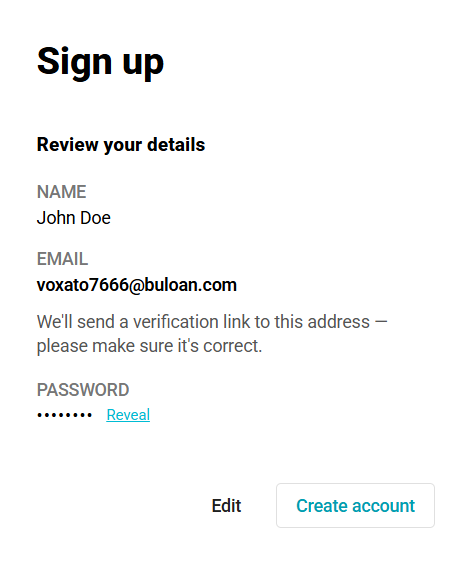
You will automatically be sent a verification email. You can verify the email by entering the code in the account settings or by following the verification link in the email. After accepting the Platform Terms and Conditions, you can start using the platform.
Creating an athlete profile
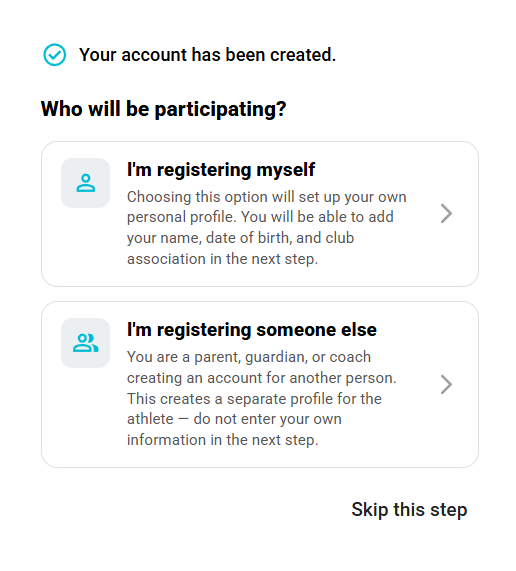
After creating an account, you'll be able to immediately create an athlete profile. Select one of the following options:
- I'm registering myself - choosing this option will set up your own personal profile. Name, date of birth and country will be prefilled based on the previously added information.
- I'm registering someone else - choose this option if you are a parent, guardian, or coach creating an account for another person.
To add a new athlete, you must enter the First name, Last name, Day of birth, Month of birth, Year of birth, and select the applicable Gender, Country.
You can also enter an International name (if it differs from your local alphabet) and select Club/school.
Example of using an international name:
- If your local name is Γιάννης Παπαδόπουλος, enter Giannis Papadopoulos as the international name.
- If your local name is John Doe, there is no need to enter the international name.
You can add more details, such as middle name, para classes, photo, and records, after creating the athlete profile. You'll also be able to add more athletes after creating an account. See more information below.
Managing your account
Once logged in, you will see a new Account tab in the upper right corner of the webpage. Click on it to see the accounts overview.
Registrations
The first tab lists all the competitions for which you have registered yourself, your athletes or relays. Click the View button to open the competition's registration view, where you can, for example, resign from the competition after registering and request a refund (if this option has been enabled).
Managed athletes and relay teams
The Athletes & relays tab lists all athletes and relay teams assigned to your account.

Creating a new athlete/relay
To add a new athlete or relay team to the list of athletes and relays you are managing or signing up for, click the Add athlete/relay button and select the desired option.
You will see a Create new athlete (or Create new relay team) window appear.
To add a new athlete, you must enter the First name, Last name, Day of birth, Month of birth, Year of birth, and select the applicable Gender, Country, and Club/school (all of these fields are mandatory).
You can also enter a Middle name and an International name (if it differs from your local alphabet).
Example of using an international name:
- If your local name is Γιάννης Παπαδόπουλος, enter Giannis Papadopoulos as the international name.
- If your local name is John Doe, there is no need to enter the international name.
The format of athletes' names (local or international) displayed in the start lists and results will depend on the competition's settings.

Please note: Make sure the First name, Last name (including international name), Gender and Date of birth are correct. Once the athlete participates in any event or buys a licence, they won't be able to change them without contacting Roster Athletics support.
Please be aware that if you select the United States as a country, you will see a new Grade field appear as optional.
To add a new relay team, enter the Name and select the applicable Gender and Country (all fields are mandatory). You can also select the club/school.
To assign a club/school to an athlete, click the Add club/school button in the Club/school association section and find your club/school in the Select club/school window. If an athlete is a member of multiple clubs or schools, you can add more clubs to the list once the athlete's profile is created. More information can be found below.
Can't find the club or school you are looking for? You can add a new club to the database by adding Club/school name, City, and Country. You can also let us know at support@rosterathletics.com. Please state the full club/school name, city, and country in the email.
If an athlete is not a member of any club, select the Unattached option.
If you add a disabled athlete, you can choose one or two Para classes (one T-class and one F-class) from the fields at the bottom of the window.

After adding all of the data, click on the Save button.
Editing athletes
If you have added a new athlete correctly or clicked on the athlete's name in the list, you will see the athlete's profile, which contains a menu with links to Personal, Clubs, Licence, Records, and Sharing.
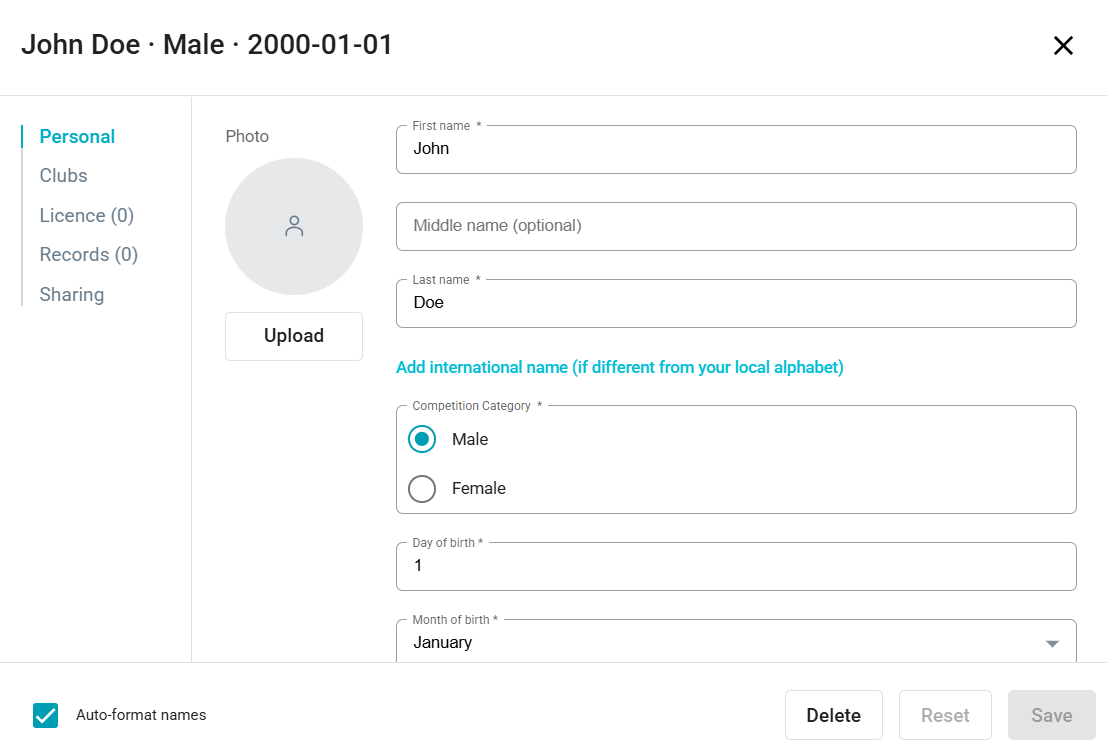
In the Personal tab, in addition to previously added information, you will find the option to add a photo. To add a new picture, click the Upload button and upload a photo of the athlete. All photos are verified by Roster Athletics Staff and will only be displayed once approved.
Roster Athletics will only accept images of the actual athlete (i.e. no avatars, etc.). By uploading an image, you represent and warrant that you have the ownership rights or have obtained all necessary licences or permissions from any relevant parties to use the image. This includes obtaining the right to grant us the right to use the image as an athlete photo in start lists and results for athletics competitions. You accept full responsibility for avoiding infringement of the intellectual property or personal rights of others in connection with this image.Under Clubs, you can add all of the athlete's clubs and schools. If the athlete has multiple clubs listed, you can select/change the primary club. Next to the name of a club managed in the Roster database by its representative, you will find the verification status. Verified members of that club can use the group payment feature if it has been activated.

Under Licence, you can add a new licence number for that athlete (if your federation is on the list). The licence numbers for England & Wales Athletics should be added automatically when an athlete is added to the platform, as Roster Athletics is synchronised with the Trinity database. For more details, please see the Participants: How to add and pay for a licence guide.
Under Records, you can see the personal and season records of the athlete, which have been either updated from the Tilastopaja statistics database (if an athlete has a Tilastopaja ID), added by Roster Staff, added by organisers, or added by you. To add your records, click on the Add records button.

In the new Add new PB & SB window, select the season, event, and implement (if relevant). Type in the record in the proper format. Your records will be marked as added by the Registrant.
You can switch between metric and imperial (feet-inches) units in the lower-left corner.
The Sharing tab is no longer in use. Sharing a code between your registration profile and the Roster Athletics app is no longer necessary, as you can now use the same account in both places.
Hiding athletes/relay profiles
Deleting athlete and relay profiles is only possible if they are not associated with any competition. If you want to remove an athlete or relay from the list (e.g., if the athlete is no longer active or represents another club), you can hide their profile. To do this, go to Account → Athletes & relays, click the three-dot icon next to it, and select Hide.

To see the list of hidden athletes and relay teams, click the Toggle hidden display button. You can restore any hidden profile by clicking the three dots icon again and selecting Restore.
Registration credits
The last tab lists all the organisers whose resignation credits you have accrued. You can use the credits when signing up for the next competition from the specific organiser on the list.
To use your credits, find a competition from the organiser from which you have credits, and register for the competition. Once your athlete or athletes are approved, you can pay with these credits. To do so, click on the Payment button, and if you have credits, you will see the Pay using credits window. Select the Use credits button to pay with credits.

Credits can be used if the credit amount covers all or part of the fee. In the latter case, credits will be included on the payment provider page as a discount.
Settings
Users can edit basic information, change their password, set display settings, and link their accounts to Apple, Google, and Facebook. To do this, open the user menu by clicking the icon in the upper-right corner of the webpage, then select Profile & Settings.

Profile
To edit the user name, e-mail address, or phone number, select Profile from the menu options.
Specific changes require you to enter your password to confirm. If you have signed up with Google, Apple, or Facebook, you must create a password in the Password tab.
In your profile settings, you can also verify your email address by entering the code that was sent to you when you created your account.
Display
To change the date and time display formats, select Display from the menu options.

Change the displayed date format by selecting the desired one from the Date format menu. There are four date formats, where DD means date, MM means month, and YYYY means year:
- DD/MM/YYYY
- MM/DD/YYYY
- DD-MM-YYYY
- YYYY-MM-DD
Change the displayed time format by selecting the desired one from the Time format menu. There are two time formats:
- 24h (e.g. 16:15)
- 12h (e.g. 11:15 AM)
The selected formats will be used when searching for competition by date, in competition details, or when creating a new athlete.
Password
To change your password, select Password from the user menu options.
If you have registered using a single sign-on method, you must create a new password by pressing the Create a password button. It will send you an email with a link to create a password for your account.
SSO
To use a Google, Apple, or Facebook account to log in to the platform, link the account with your Roster account under the SSO tab. You can also unlink your account if you signed up with Google, Apple, or Facebook (be sure to create a password before doing so).
Deleting an account
You can delete your account by going to the Delete tab and pressing the Delete button. Remember, deleting your account cannot be undone.
Language
To change the platform's language, select Language from the user menu, then choose your desired language or select it from the list at the bottom of the page.
